Exposing Film in Harsh Sunlight Backlit Scenes
When shooting on film, you don’t have the luxury of a high-resolution monitor or waveform to check your exposure. You have your meter, your eye, and your knowledge of the craft. One of the most beautiful yet challenging lighting scenarios is the classic backlit sun shot. It creates separation, a stunning hair light, and a sense of depth — but if you miscalculate your ratios, you risk blowing out the highlights or losing your subject in the shadows.
In this excerpt from the Exposing Motion Picture Film Masterclass, we go on location to break down my exact methodology for exposing daylight-balanced film stock in a high-contrast, backlit environment. This isn’t just about reading a meter; it’s about understanding how to control light, calculate filter factors, and make creative decisions about skin tone exposure that are baked into the negative.
(This article is a detailed breakdown of a lesson from the Exposing Motion Picture Film Masterclass. Discover how you can access the full course at the end!)

WHAT YOU WILL LEARN IN THIS ARTICLE |
|
THE SCENARIO: SHOOTING DAYLIGHT STOCK (50D)
For this setup, we are shooting with Kodak Vision3 50D (5203). Because this is a daylight-balanced stock (5600K), we do not need an 85 correction filter. However, the sun is bright, and 50 ASA is still sensitive enough that we need to control the amount of light entering the lens to achieve our desired aperture.
My goal is to shoot at a T-stop of around T2.0 to T2.5. This aperture provides a beautiful, cinematic depth of field that separates the subject from the background. Without filtration, the sun would force us to stop down to f/16 or higher, ruining that aesthetic.
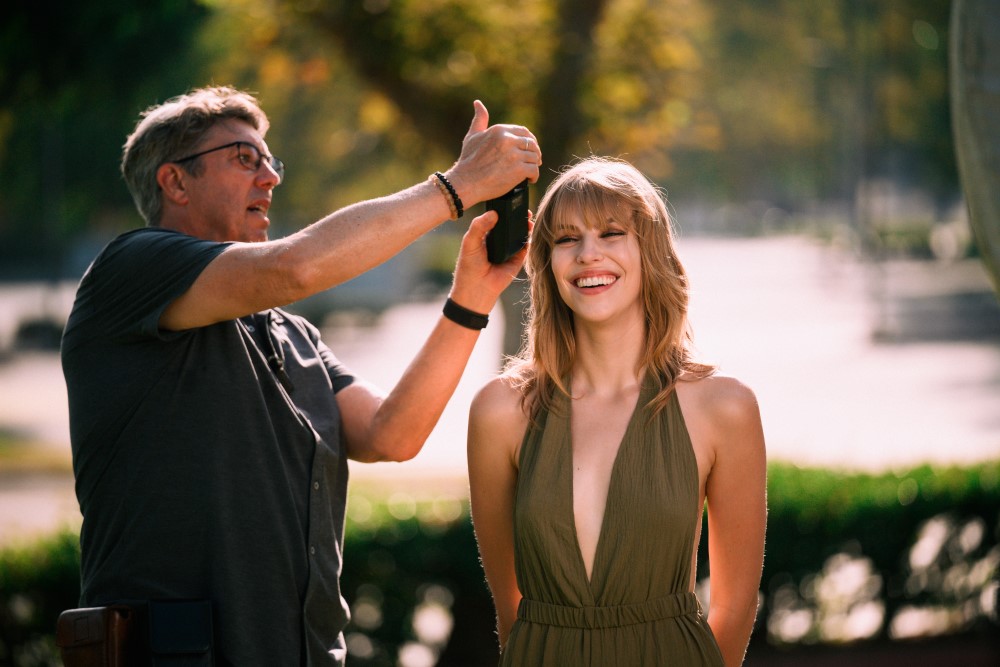
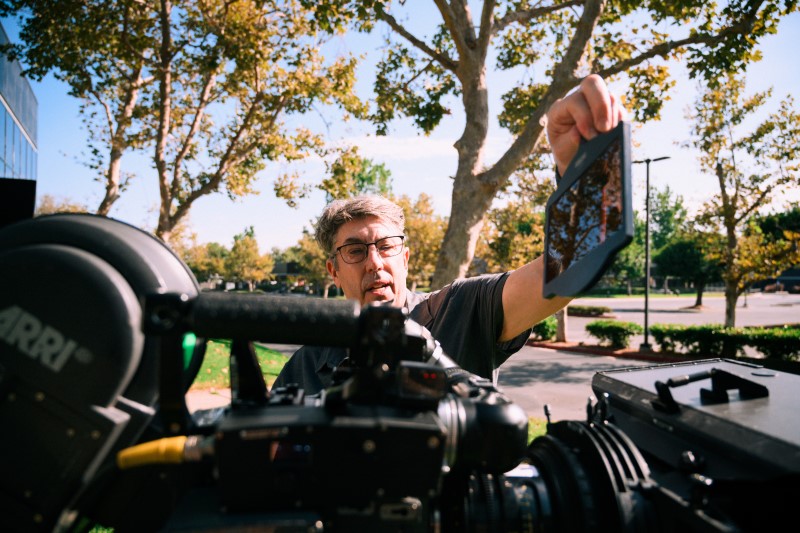
STEP 1: METERING TECHNIQUE – THE “HAND CUP” METHOD
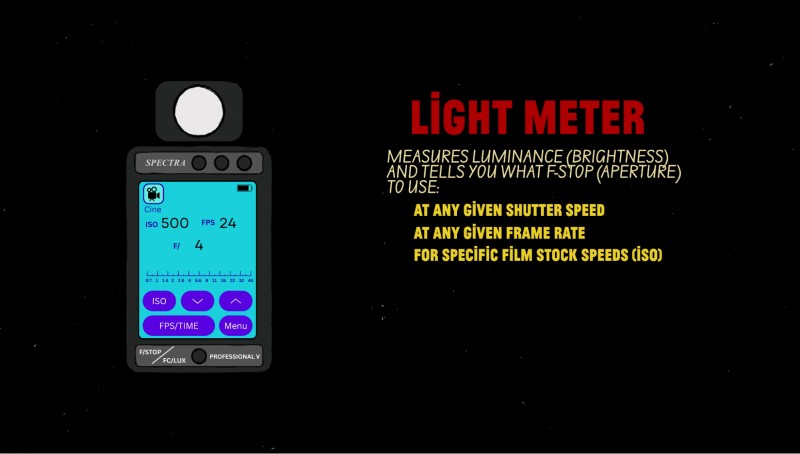
The first step is to get an accurate reading of the light. I use an incident light meter with a dome (not a flat disc), but technique is critical.
| THE PROBLEM | When measuring the shadow side of the face (fill light), if the bright sun hits the back of the meter’s dome, it will artificially inflate the reading, telling you there is more light than there actually is. |
| THE SOLUTION | I use my hand to cup the dome, blocking the direct sun from hitting it while allowing the ambient fill light to enter. This ensures I am measuring only the light falling on the shadow side of the subject’s face. |
|
INITIAL READINGS |
|
|
Backlight (Sun) |
f/8.3 |
| Fill (Shadow side) |
f/2.5 |
This creates a massive contrast ratio (about 3.5 stops difference). While dramatic, I prefer a more controlled two-stop backlit scenario for this kind of beauty work. This means we need to bring up the fill level.
STEP 2: FILTRATION AND THE FILTER FACTOR
To get our T-stop down to my preferred T2.0–2.5 range, we need to cut the light. I chose an ND 0.6 (Neutral Density) filter, which reduces light by 2 stops.
PLACEMENT MATTERS
I always place the ND filter in the matte box tray closest to the lens. This minimizes the risk of internal reflections and ghosting, especially when shooting directly into a strong light source like the sun.
UPDATING THE METER
Before taking any new readings, I must update my light meter. I go into the menu and program a Filter Factor of -2 stops (for the ND 0.6). I also confirm my film speed is set to 50 ASA and my frame rate is 24 fps. Now, the meter will do the math for me.
| NEW READINGS (WITH ND 0.6 | |
| Backlight | f/4.3 |
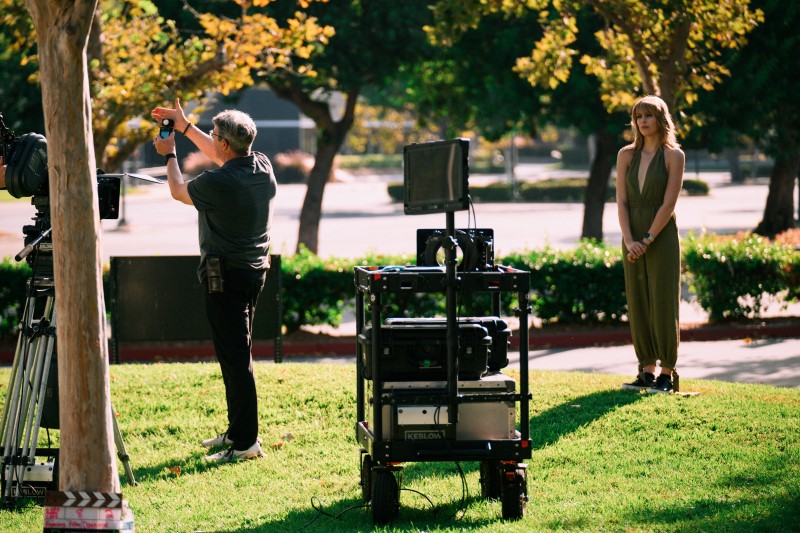
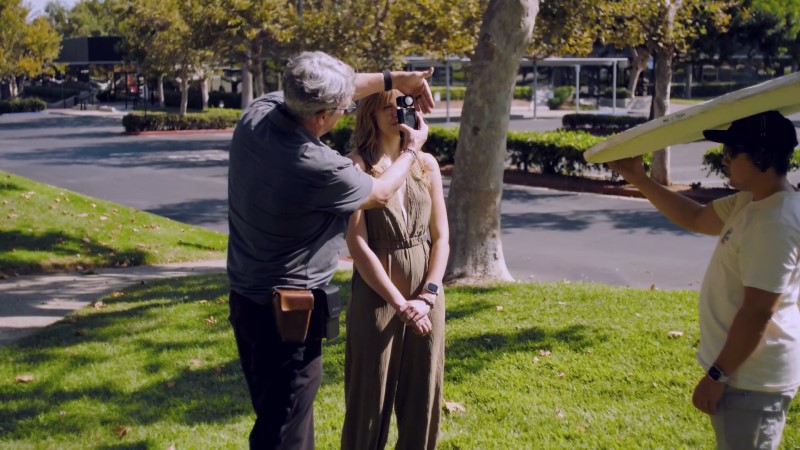
STEP 3: SHAPING THE LIGHT WITH A BOUNCE
To reduce the contrast ratio, we bring in a Circle Bounce (a bead board or similar reflector). By positioning it high and reflecting the sun back onto the subject, we create a beautiful, soft fill light.
| FINAL READINGS | |
| New Fill (with bounce) | f/1.4 |
STEP 4: THE EXPOSURE DECISION
Now comes the artistry. We have our readings:
| Backlight | f/4.3 |
| Fill | f/1.4 |
I decide to set my lens aperture to T2.5. Here is why:
1. UNDEREXPOSING THE FACE
By setting the lens to T2.5 when the fill measures T1.4, I am intentionally underexposing the face by about 1.5 stops. For lighter skin tones (like our talent, Kira), this protects the highlights and keeps the skin looking natural and rich, rather than flat and over-lit.
| NOTE: If the talent had darker skin tones, I would only underexpose by 1 stop to ensure rich detail in the shadows. |
2. OVEREXPOSING THE BACKLIGHT
With the lens at T2.5 and the backlight measuring T4.3, the sun is now 1.5 stops overexposed. This creates a beautiful, glowing rim light that feels hot and sunny but retains detail without blowing out into a digital-looking clip.
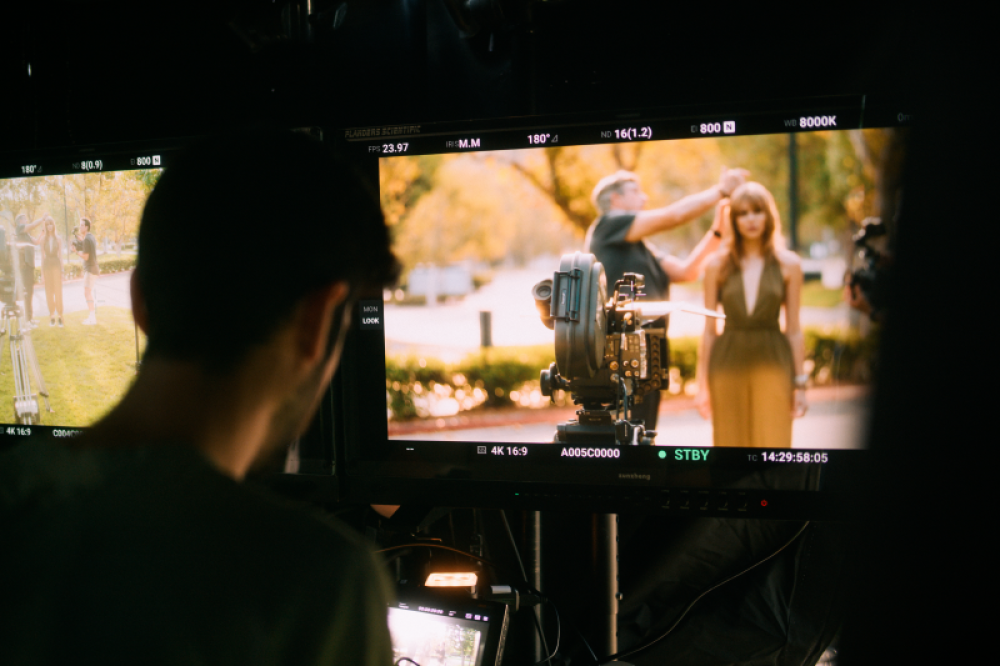
THE RESULT
A perfectly balanced image with a 3-stop dynamic range between the key and the rim, all calculated precisely before rolling a single foot of film.
THE BOTTOM LINE: CONFIDENCE COMES FROM KNOWLEDGE
This lesson illustrates the precision required to shoot film. You aren’t guessing; you are calculating ratios and making deliberate creative choices about how to place your exposure. By understanding your meter, your filters, and your film stock’s latitude, you can walk onto any set and confidently shape the sun to your will.
UNLOCK THE FULL MASTERCLASS!
This article covers just one lighting scenario from our comprehensive Exposing Motion Picture Film Masterclass. In the full course, Shane Hurlbut, ASC, takes you through complex setups including side-lighting, tungsten stock in daylight, pushing and pulling film, and the “twilight combo” for extending magic hour.
|
YOU CAN ACCESS THE FULL MASTERCLASS IN TWO WAYS |
|
| BECOME A PREMIUM ANNUAL MEMBER | Get unlimited access to this masterclass, plus our entire library of hundreds of courses, monthly live coaching, and an exclusive community of filmmakers. |
| A LA CARTE PURCHASE | Buy the standalone masterclass for a one-time fee of $129.99 and own it forever. |
Forget “fast.” Choose timeless. Master the process.
This masterclass was produced in collaboration with Kodak.


